 CertSend
3 steps · about 3 minutes
How to make a certificate
Everything you need to make a professional certificate, from choosing a design to printing it. Free, with nothing to install.
- Step 1
Choose a design
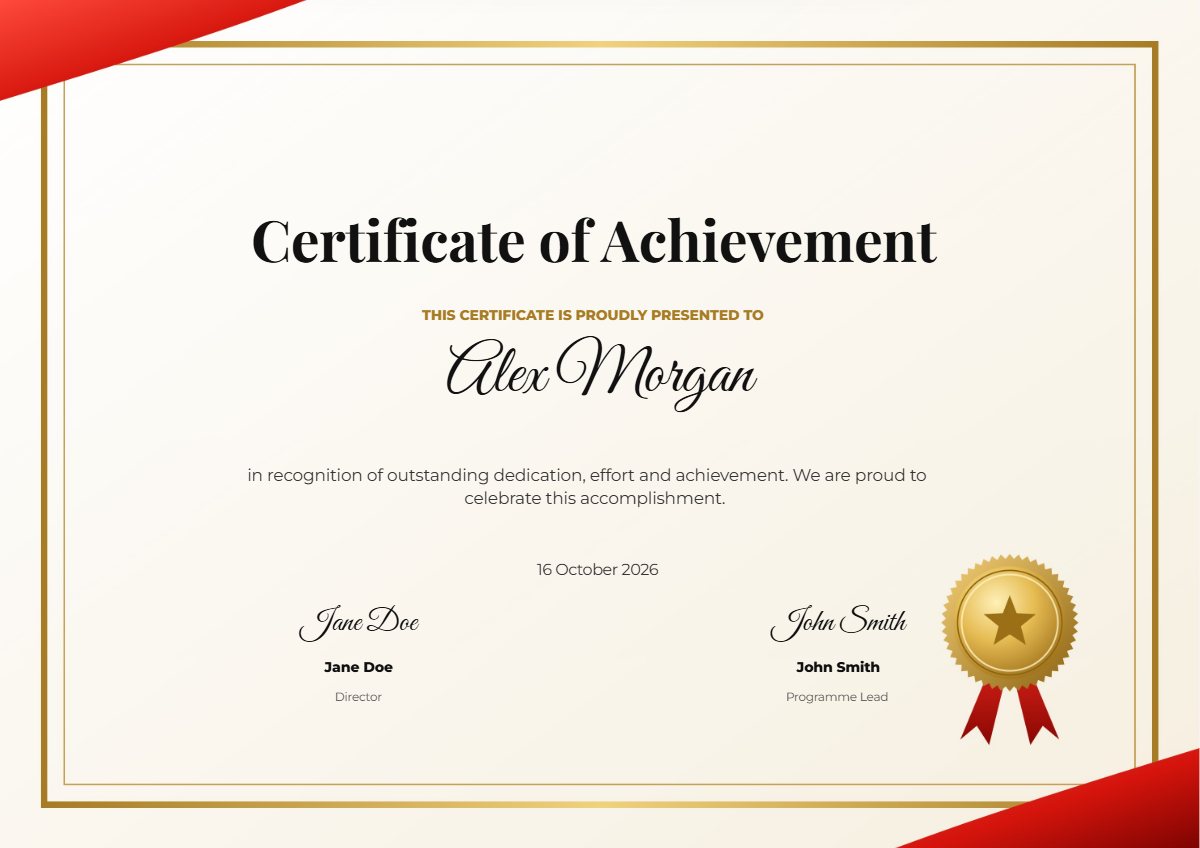
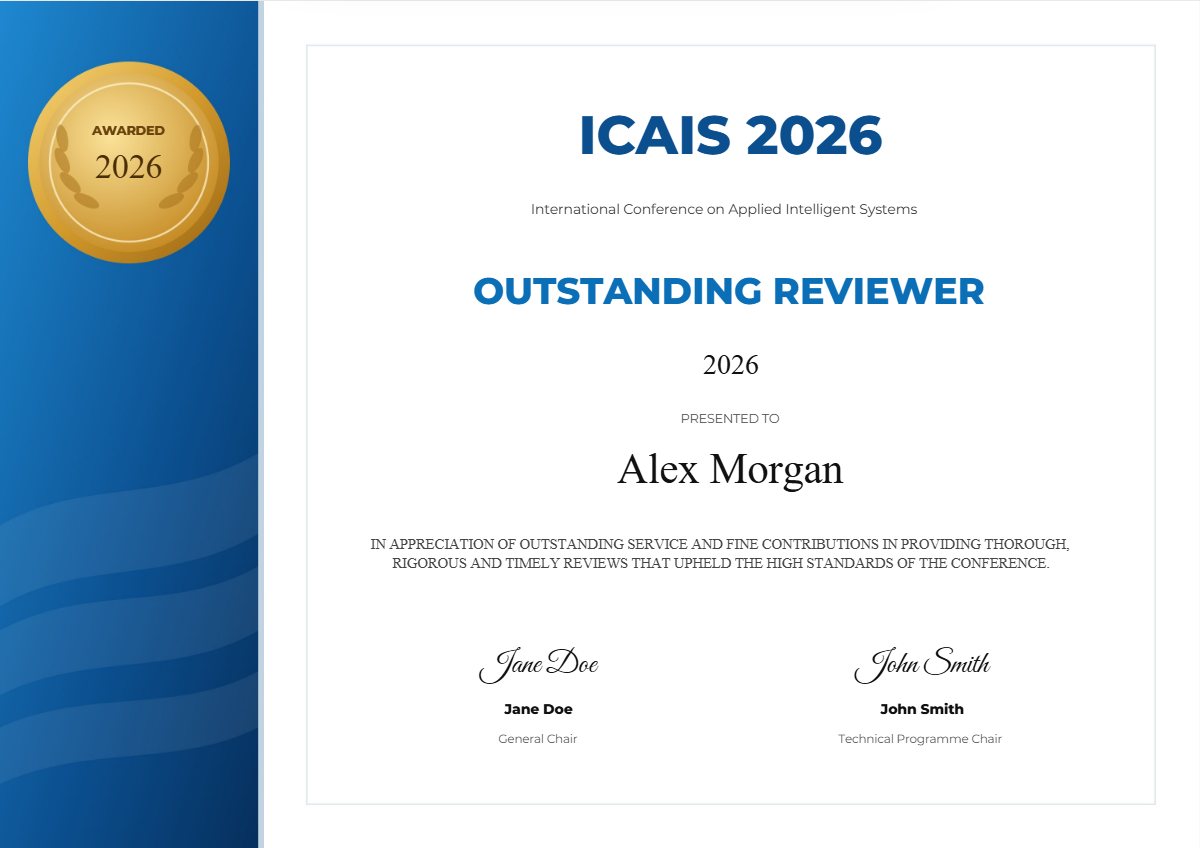
Start from one of the ready-made designs: formal gold frames for awards, clean modern layouts for training, conference designs for reviewers and chairs, and colourful ones for kids. Or upload your own background.
- Step 2
Make it yours
Click any text on the certificate to change it. Pick fonts and colours, drag things into place with snapping guides, and add your logo and signatures. Keep {name} where the person’s name should go.
- Step 3
Add the name and download
For one person, type their name and press Download PDF. For a whole list, use the bulk generator: paste names from Excel or Google Sheets and download every certificate at once, or email each person from Gmail.
What a good certificate includes
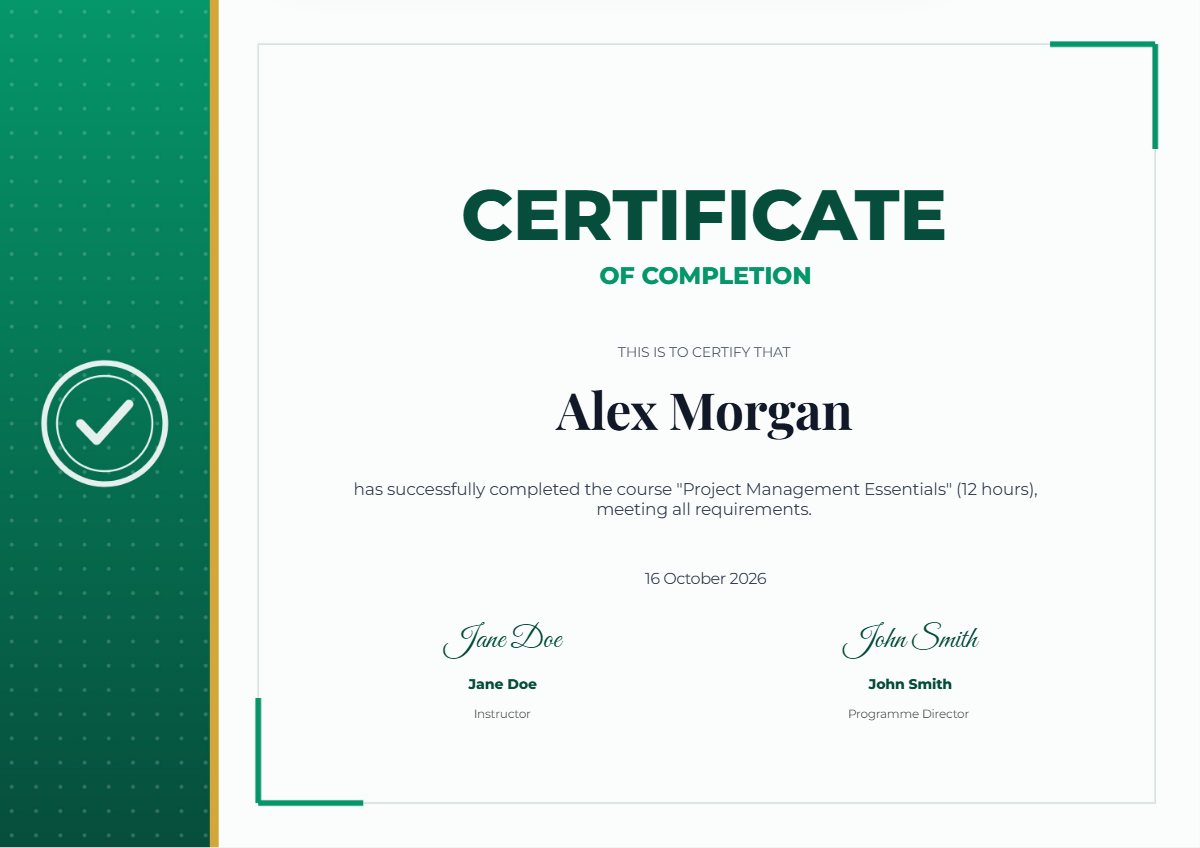
A clear title, the recipient's name as the largest text, a short reason, the date, your organisation's name or logo, and one or two signatures.
Printing tips
Print at 100% scale (not "fit to page") on 160–250 gsm paper. Use the "One PDF for printing" download to print everyone in one go.
Frequently asked questions
Is CertSend really free?
Yes. Designing, making and downloading certificates is free, with no sign-up and no watermark. Paid extras like verification links and automatic email sending are coming later, and the free maker stays free.
Are my names and files uploaded anywhere?
No. Everything happens in your browser: the design, your list of people and the PDFs never leave your device. Your work is saved only in this browser so you can come back to it.
Can I use my own design or logo?
Yes. Upload your own background (PNG or JPG), add your logo and signatures, and change every text, font and colour.
Want this app for your website?
Get a certificate maker with your own brand, designs and domain, for your school, conference, training centre or business.